Painting your walls can be a rewarding DIY project, but avoiding certain pitfalls is crucial if you want your results to rival those of professionals. This article will explore common mistakes that can derail your painting project and provide you with essential tips on how to achieve a flawless finish. Get ready to elevate your painting skills and transform your living space beautifully! 🎨👌
Ready to enhance your painting skills? 🎉 This guide reveals the common mistakes to avoid for a professional-looking paint job. From choosing the right tools to preparing your walls properly, we’ll cover everything you need to know. Let’s dive in to make sure your next painting project is a success! 🏡
Choosing the Wrong Paint Finish
One of the first steps in achieving a professional look is choosing the right paint finish. Not all finishes are created equal—each has its unique properties that affect the final appearance of your painted walls. Glossy finishes reflect more light and can highlight imperfections, while matte finishes offer a softer, more forgiving look. Satin finishes are a happy medium, providing some sheen and durability. Always consider the function of the room and how much wear and tear the walls will endure before making a choice.
Skipping Surface Preparation
A common mistake often made by DIYers is neglecting surface preparation. This step is crucial for achieving a smooth and even coat. Ensure that your walls are clean, dry, and free from imperfections that could show through the paint. Fill in any holes or cracks with spackling compound, sand down rough spots, and wipe the surface clean with a damp cloth. Not taking the time to prepare your walls properly could lead to a less than stellar finish.
Not Testing Paint Colors
When selecting a color, always test it before making commitment! It’s easy to fall in love with a color in the can, but the lighting in your home can dramatically change how it looks on the walls. Obtain sample swatches and paint small sections on your wall in various spots. Observe how the colors change throughout the day and under different lighting conditions; you want to fall in love with the hue at all times of day.
Overloading the Roller
One of the most significant mistakes painters make is overloading the roller with paint. This can lead to drips, uneven coverage, and a messy application. Instead, pour a small amount of paint into a tray and lightly roll the roller in it, then roll it along the tray’s ridged area to remove excess paint. This method keeps your walls free from heavy clumps while allowing for an even application.
Selecting the Wrong Roller Nap
The roller nap you choose is essential for the type of surface you are painting. For textured surfaces, a thick nap is ideal, as it can reach into the crevices effectively. However, for smooth surfaces like drywall, a thin nap is preferable to avoid unnecessary texture. Be sure to consult with your paint supplier about your specific project needs to avoid making a costly mistake.
Neglecting to Use Painter’s Tape
Failing to use painter’s tape around trim, doors, and windows can result in frustrating touch-ups later on. This simple step prevents paint from bleeding into places you don’t want it, ensuring clean and crisp edges. Be sure to press down the tape firmly, and remove it while the paint is still wet for the best results.
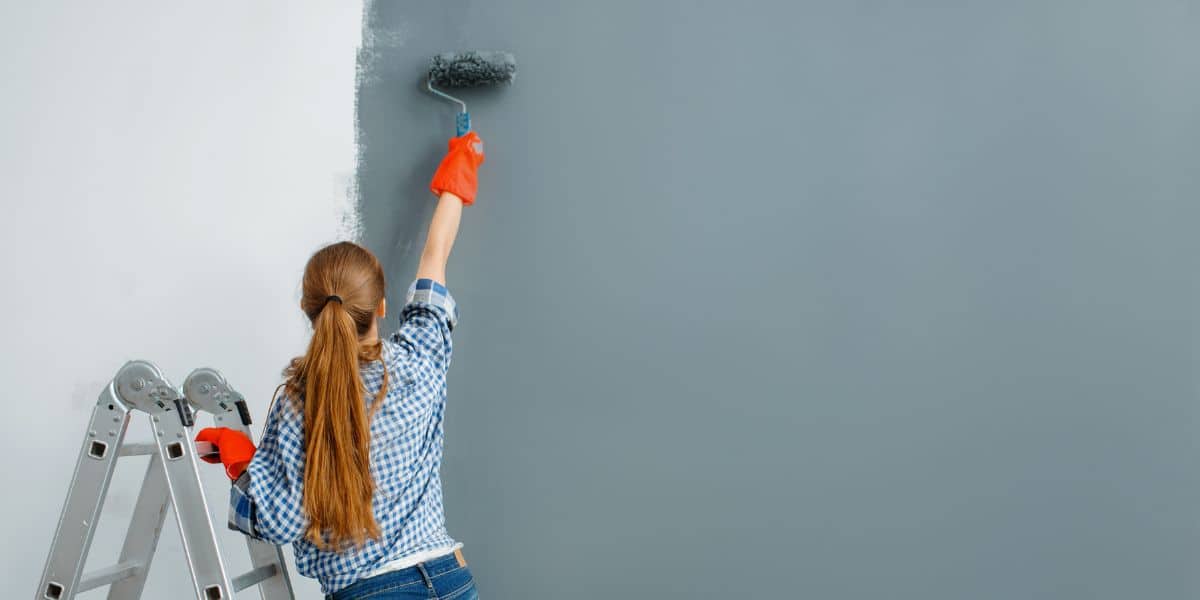
Ignoring the Right Technique
Laying paint on walls isn’t just about slapping on color; it’s an art form! The W or N technique is highly recommended because it helps create even coverage. When using a roller, make a W or N shape, and then fill in the gaps to ensure you don’t back-roll over already set paint, which could create unpleasant texture and spots.
Not Calculating Enough Time for Drying
Rushing through your painting project is a surefire way to cause disasters. Not giving adequate drying time between coats can lead to smudges and a sticky mess! Be patient, and follow the manufacturer’s guidelines on drying times. If possible, take breaks between coats and allow sections to dry completely before moving onto the next.
By avoiding these common mistakes, you can elevate your DIY painting projects and achieve that coveted professional finish. Remember to take the time to prepare, choose the right tools, and follow proven techniques to ensure your painted walls look flawless. Happy painting!